
Materials
- fabric of your choosing
- scissors
- matching colored thread
- sewing pins and needle
- glue gun
- blank hair clip or bobby pin
To make your bow you will need your fabric, thread, sewing pins and needle, and scissors. If you do not want to sew you can always use fabric seam glue or Tacky glue. Cut a length of fabric that is twice as long as the length you want your finished bow to be. Mine measures roughly 9 inches long.

Place the sequin side of the fabric down. Fold the outer edges of your fabric inward. This will give the bow a nice finished edge. You can sew these edges down if you wish.

Fold your fabric so that the ends overlap with each other. Make sure you allow at least half an inch of overlap.


Pin the ends so that they stay together.

You will create a tunnel-like shape.

Get ready for some sewing! (Or use fabric glue!)

Thread your needle and sew your fabric together, where the pin is.

You can barely see the sewing seam! This is why you choose a thread color that is a close match to the color of the fabric you select.

This is the fun part :) Place your fabric tube between your thumb and middle fingers and gently squash the fabric down. You will create a bow shape!

Play around with the shape of your bow until you are satisfied. Then sew your bow together by making small stitches down the center of your bow. Note where your thumb and middle fingers are and sew in the direction, vertically.

It should look something like this when you're done.

Cut a strip of fabric (it can be the same color of a different color). Mine is about an inch wide and two inches long. Cut enough so that the strip can fit around the center of your bow with the ends overlapping about half an inch. It's better to cut extra and trim it down to size.

Place the fabric strip on top of the front side center of your bow, right side facing you. Flip your bow over so that the back of the bow and the back of the fabric strip are now facing you. Wrap both ends of the fabric strip toward the center of the bow so that they meet and overlap. Flip your bow over to make sure you like the look of it, you may need to tighten or widen the strip. Then sew or glue the ends together.

Don't worry about not sewing evenly, you won't be able to see the seam lines anyway!

If you want to leave your bow as just a cute floppy bow then cool! You're done! If you want to turn your bow into a hair clip then continue below!
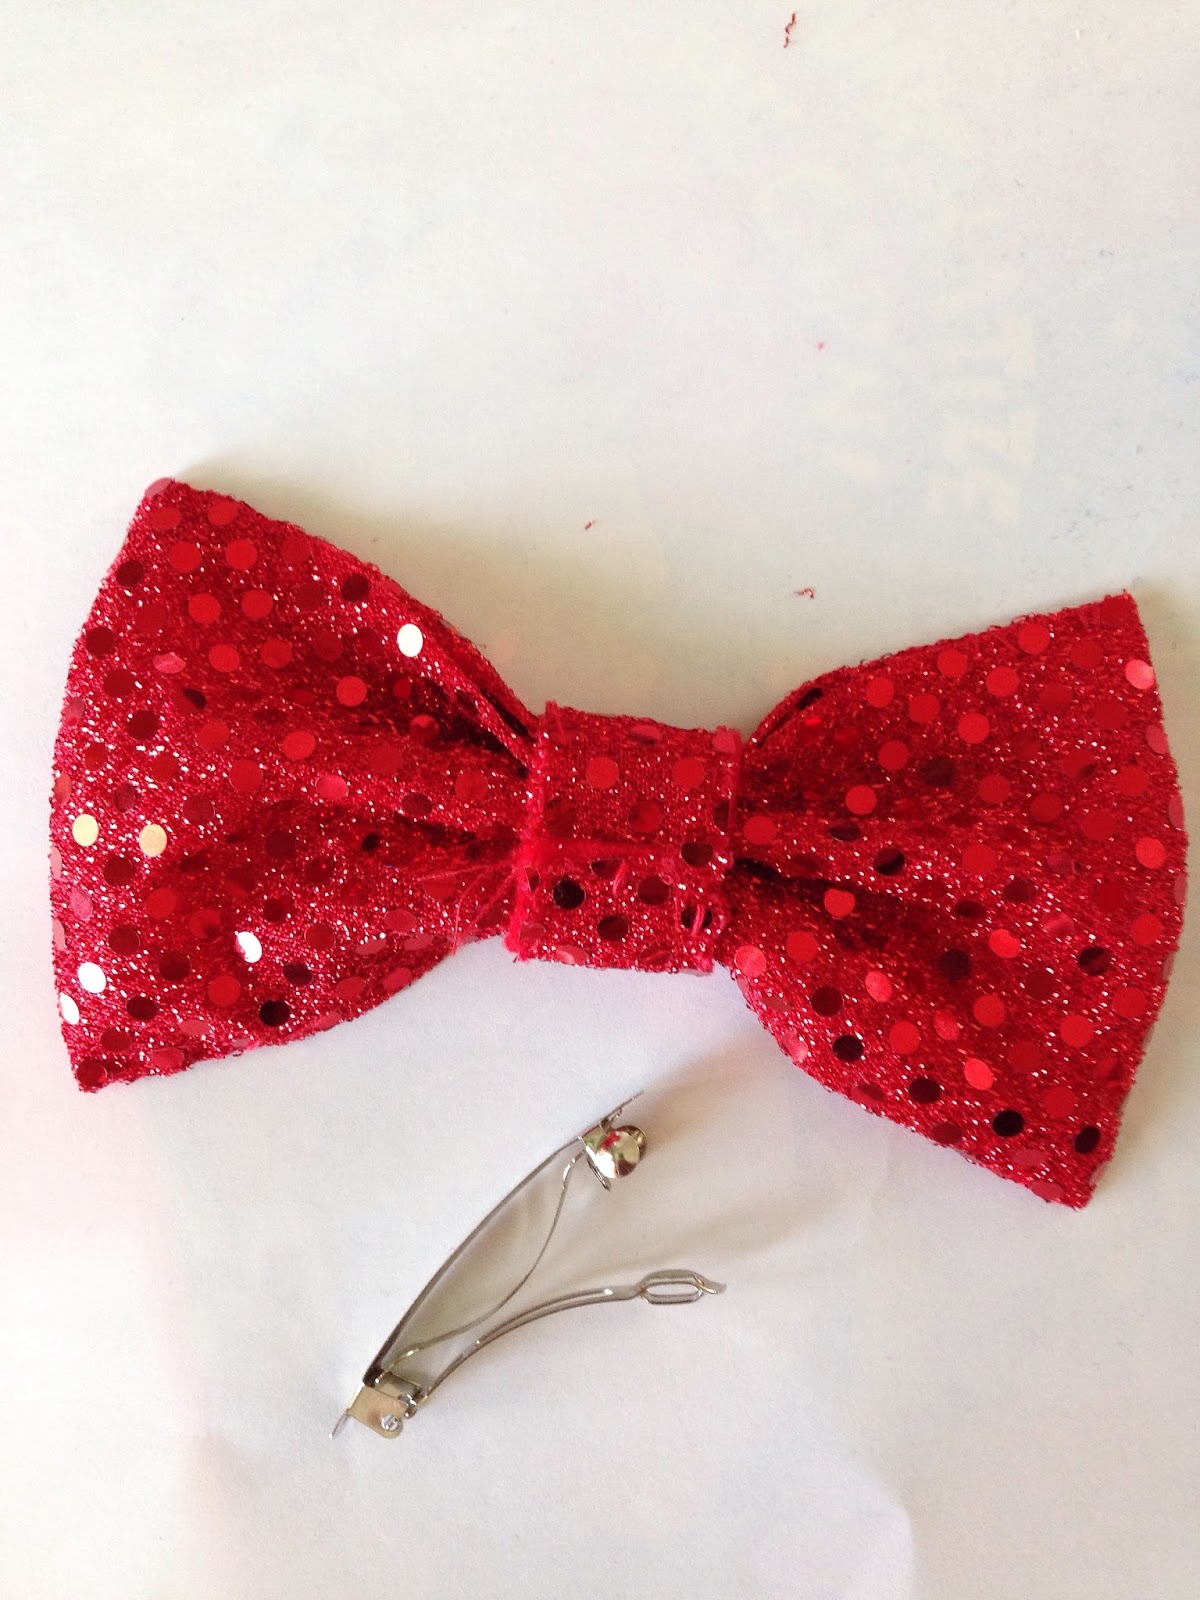
Use your hot glue gun to draw a horizontal line of glue across the back seam of your bow.

Attach your clip or bobby pin by placing it on the glue line that you just drew. Press down to make sure it is secure and let it dry for a few hours.

You're done!


The finished bow with some of my Disney trading pins :)

Had to wear my bow with my Minnie Mouse shirt!

I definitely will be wearing this to Disneyland. :) I have one more Disney DIY coming up next week! If you haven't checked out my other Disney projects, check them out here: Getting Busy With Disney and Mickey (Ear)rings
♥ Justine


0 comments:
Post a Comment