
Materials
- polymer clay
- emoji pictures
- head pins
- jump rings
- jewelry clasp
- chain
Tools
- wire cutters
- flat-nose pliers
- oven
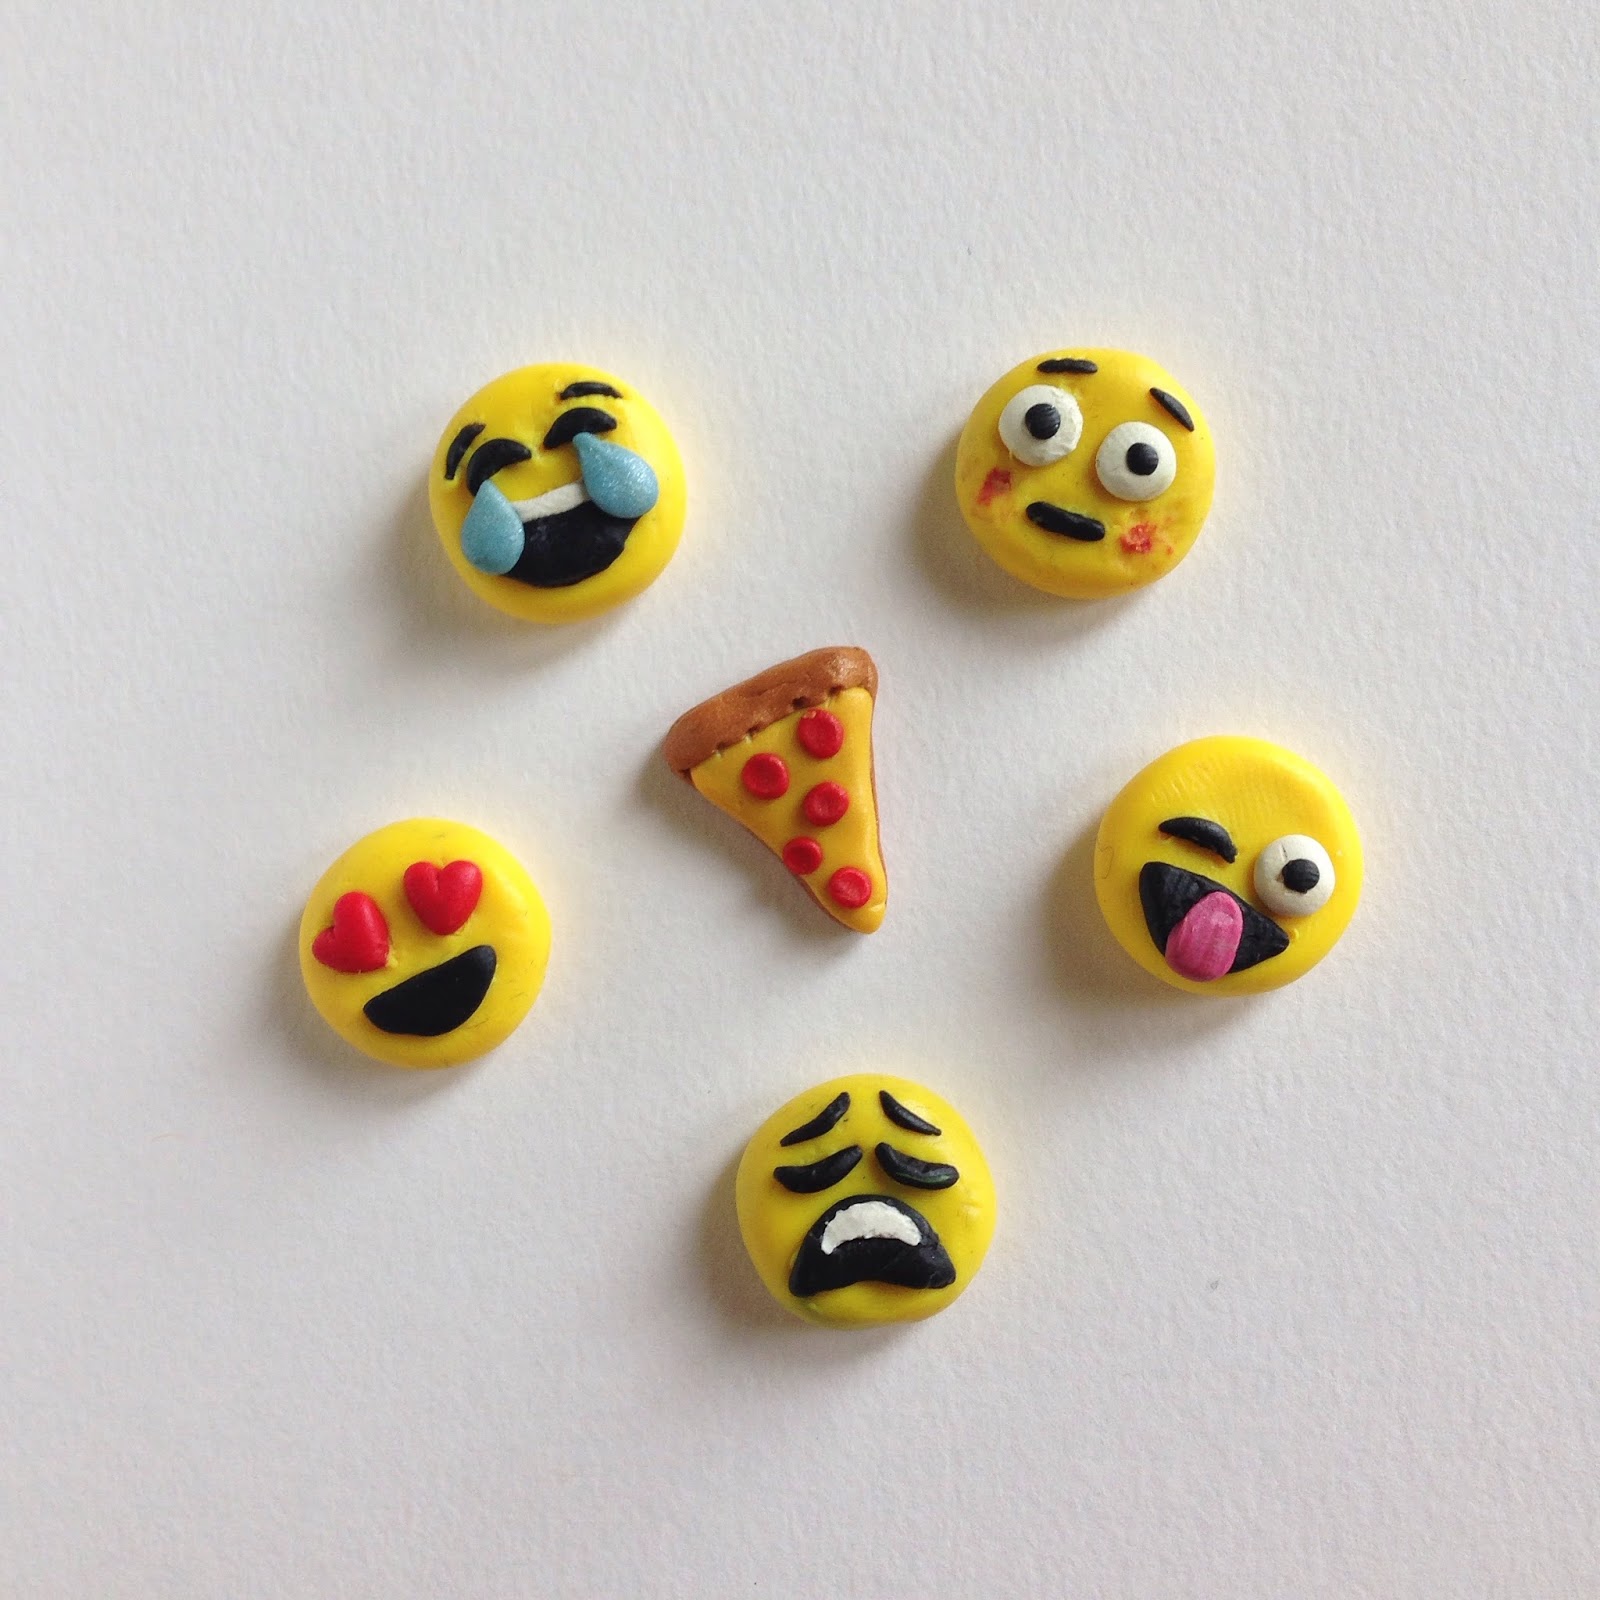
Start by making those emojis! Start with round balls of yellow clay and flatten them a little til you have the face shape you desire. Then use other clay colors to make your emojis expressions. And pizza. Don't forget about the pizza!

Once you're done, grab some head pins and use your wire cutters to trim the head pins to fit your clay emojis. You want the head pin to go at least halfway down your emoji. Gently push the end of the head pin into the emoji. Carefully continue to push the head pin straight down into the clay until the top of the head pin rests on top of your emoji. Make sure the wire doesn't poke out through the back or front of the emoji, as you want the wire to stay right in the middle.

You'll end up with something like this.

Time for these emojis to get baked! Follow the directions on the packaging of the clay. I used Sculpey and baked my emojis for 15 minutes at 275 degrees Fahrenheit.

Get your jump rings. Open a jump ring with flat-nose pliers and attach it to the headpin on your clay emoji. Then attach this same jump ring to your chain. Close your jump ring and then repeat with the rest of the emojis.

And you're done! Now you can wear your emotions on your wrist!


How crazy would it be to make all the emojis out of clay? Maybe that'll be a lifelong project haha. What are some of your favorite emojis?
♥ Justine


0 comments:
Post a Comment